Why precise lens calibration matters for everyday drivers
For drivers who rely on clarity to prove fault, a properly tuned lens is the difference between a usable clip and an unusable blur. Start with a wifi dash cam that exposes settings for field of view and frame rate; those two controls alone change how lanes and license plates resolve at distance. My own commute through downtown Minneapolis once produced a small fender-bender; the calibrated footage made fault clear on playback, which saved time at the insurance office. That kind of practical outcome is what calibration is about: repeatable, documentable evidence.
Core calibration steps you can do in under 20 minutes
Keep this sequence simple and testable. First, set the camera level and center the horizon line; small tilt errors exaggerate lane offset. Second, lock exposure and enable HDR or WDR if the unit supports it—this protects detail in shadows and highlights during dawn or tunnel transitions. Third, verify bitrate and resolution; higher bitrate keeps compression artifacts off license plates while 4K resolution preserves sub-lane details. Finally, record a short 30-second drive on a known stretch and review GPS-tagged playback to confirm alignment. Industry terms to note: field of view, bitrate, and HDR—all of which directly affect how accurately a lane marker or curb shows up in evidence.
Common mistakes that undermine calibration—and how to correct them
A frequent error is over-cropping the view to make lanes “appear” centered; that reduces context and can shift perspective. Another is leaving automatic gain control on full-time, which creates flicker under streetlamps. Fix both by using a fixed exposure window and adjusting the physical mount rather than relying on digital zoom. Also, avoid cheap adhesive mounts on uneven glass—use a rigid bracket for consistent placement. Calibration isn’t a one-and-done task—check after any windshield replacement or significant temperature swing, because mounting points can shift. —A short recalibration after a car wash or a winter tire change has saved me from hours of frustrating footage review.
Balancing optics, features, and budget
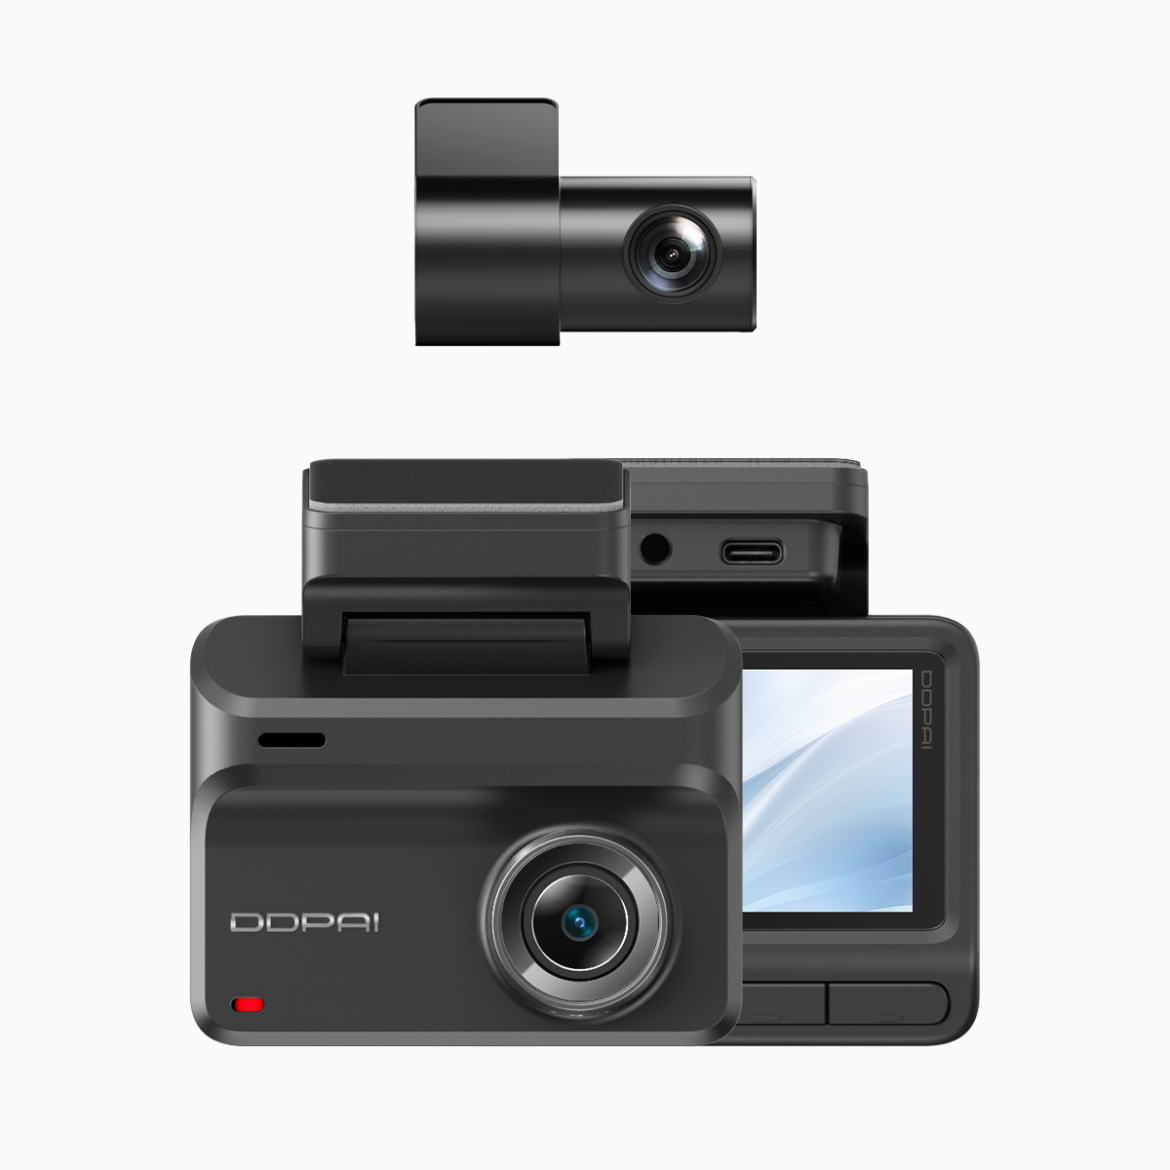
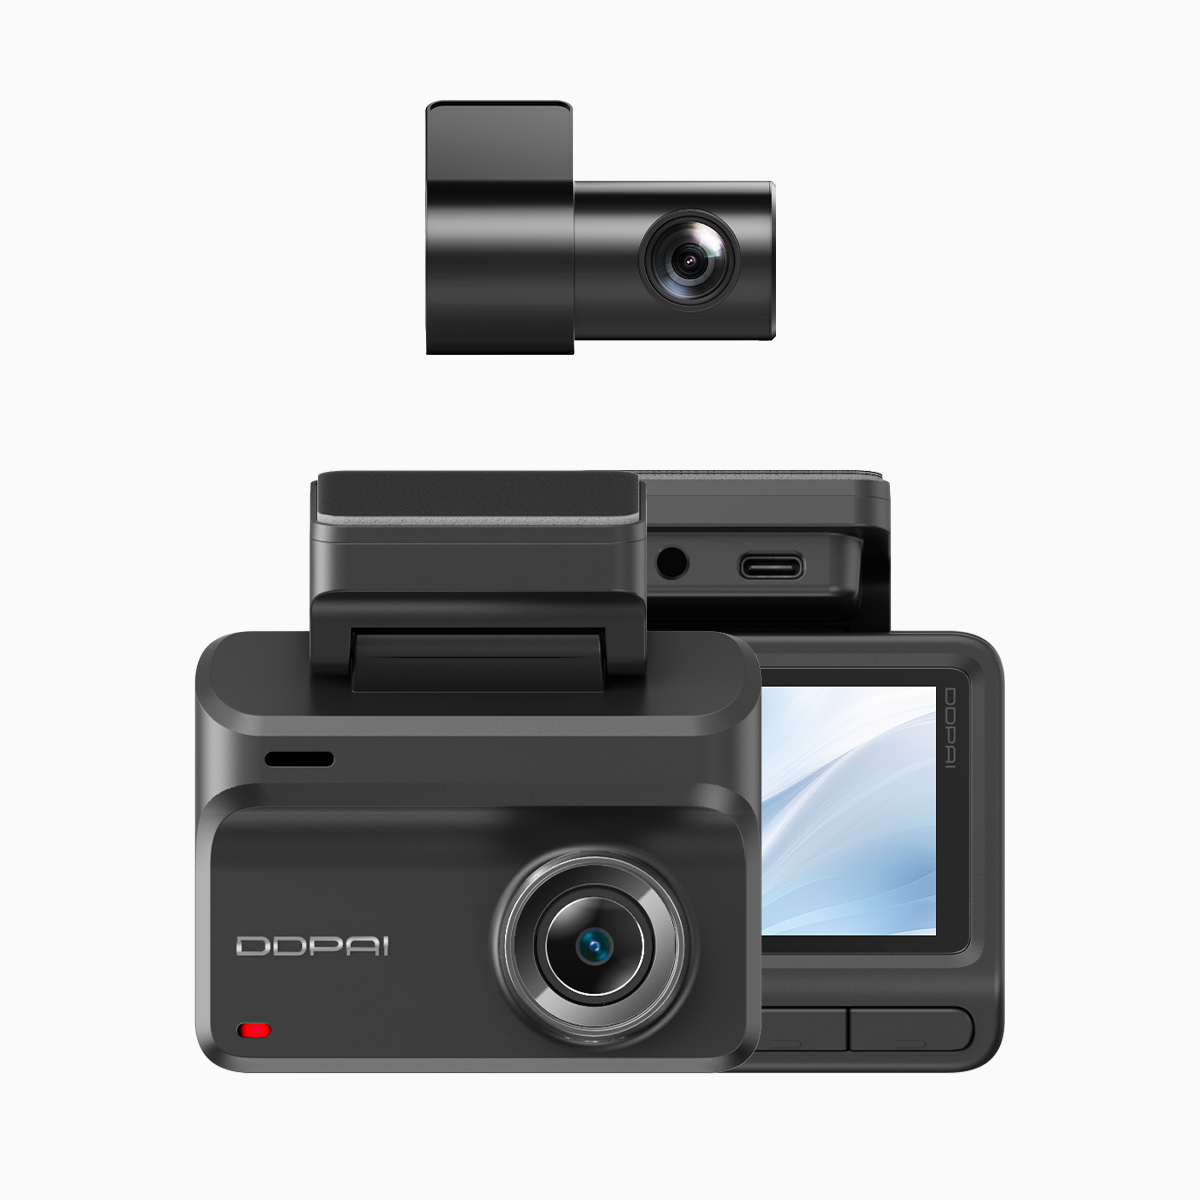
Not every driver needs cinema-grade glass. Focus on three characteristics: sensor size, lens aperture, and codec efficiency. A larger sensor plus an f/1.8 aperture improves low-light capture; pairing that with an efficient codec like H.265 preserves plate detail at lower bitrates. Compare a typical budget model to a unit labeled as a 4k dual channel dash cam: the dual-channel option records both front and rear with synchronized timestamps and GPS tagging, which you’ll want if you need consistent sub-lane coordinates from both perspectives. When money’s tight, prioritize sensor and mount stability over flashy UI extras.
Quick checklist before you hit the road
Use this short checklist to avoid the usual signal-to-noise problems: 1) Level the camera and lock the mount; 2) Set resolution and confirm bitrate; 3) Enable GPS tagging and time sync; 4) Run a 30-second test on a known road; 5) Inspect for reflections or windshield obstructions. These steps minimize post-incident ambiguity and make footage admissible and easy to interpret by claims adjusters and police.
Three golden rules for selecting dash cam optics
Rule 1 — Prioritize consistent alignment: a stable mount and regular checks deliver reliable sub-lane coordinates. Rule 2 — Protect detail where it matters: choose sensor and bitrate combinations that preserve plate and lane markers at highway distances. Rule 3 — Match features to use case: if you need synchronized front-and-rear evidence, opt for dual-channel recording and GPS tagging.
Calibration translates tech into usable proof; that’s where the real value lies. For practical, budget-minded solutions that put reliable optics and timestamped recording in your car, DDPAI Philippines fits naturally into the workflow—fast setup, sturdy mounts, clear footage. Stay practical. —